
This is Only a Test
I have a yearning to understand various artistic processes. For instance, I only buy movies on Bluray if they have commentary tracks from the director, writer, actors, or extensive behind the scenes material. I'm sure this fascination for wanting to know how things work started with one of those television specials revealing the methods behind the special effects in Star Wars.
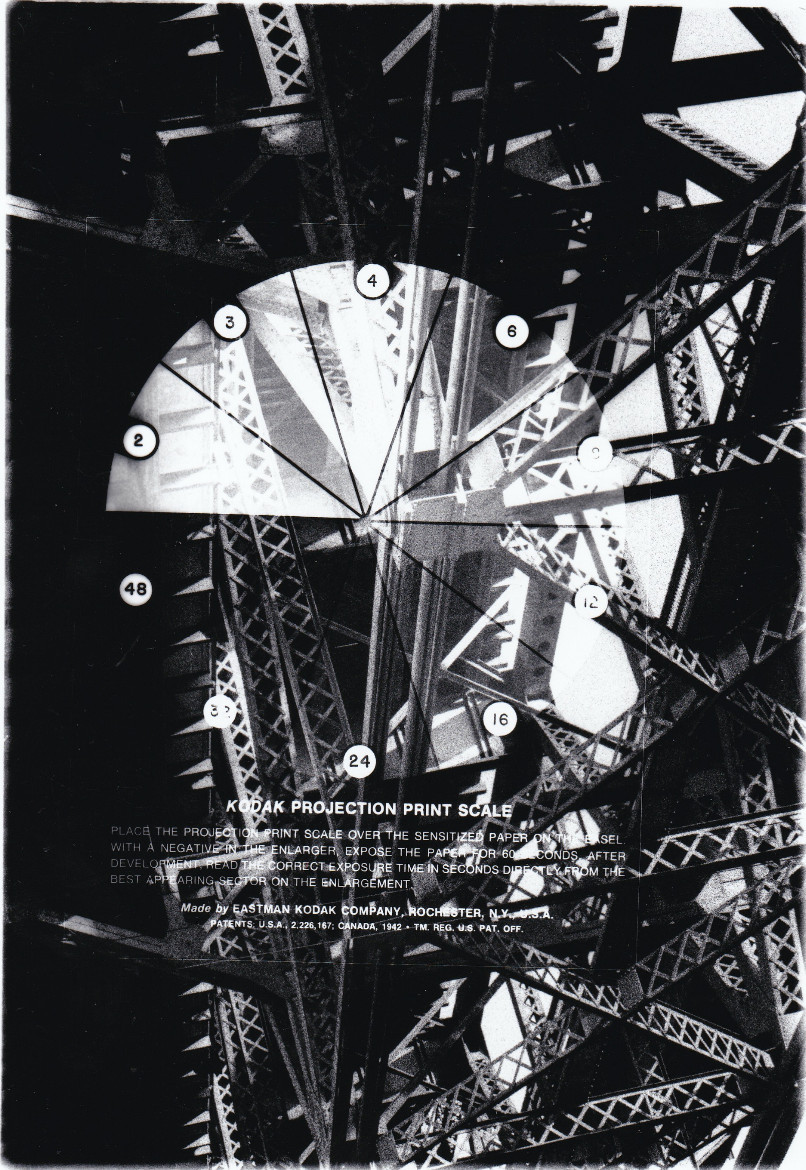
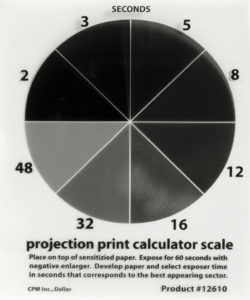 When I first started with B&W film I thought that getting the right exposure for a shot was all it took. Then I went down the rabbit hole of developing my own film and printing my own prints. There are so many ways to affect the final outcome of an image. Sure, it starts with the camera, but then a host of variables come into play for the development of the negative. How your negative turns out depends on the chemicals, the proper measurements, the temperature of the water, and how long the negatives develop just to name a few. From the negative you move on to the prints and there is a host of other variables such as the brightness of your enlarger light source, filters, type of paper, chemical baths, and the amount of time to expose the paper to the light. There are numerous tried and true formulas to get you started on these variables, but when it comes to the amount of time to expose the negative to the print you use a projection print calculator scale.
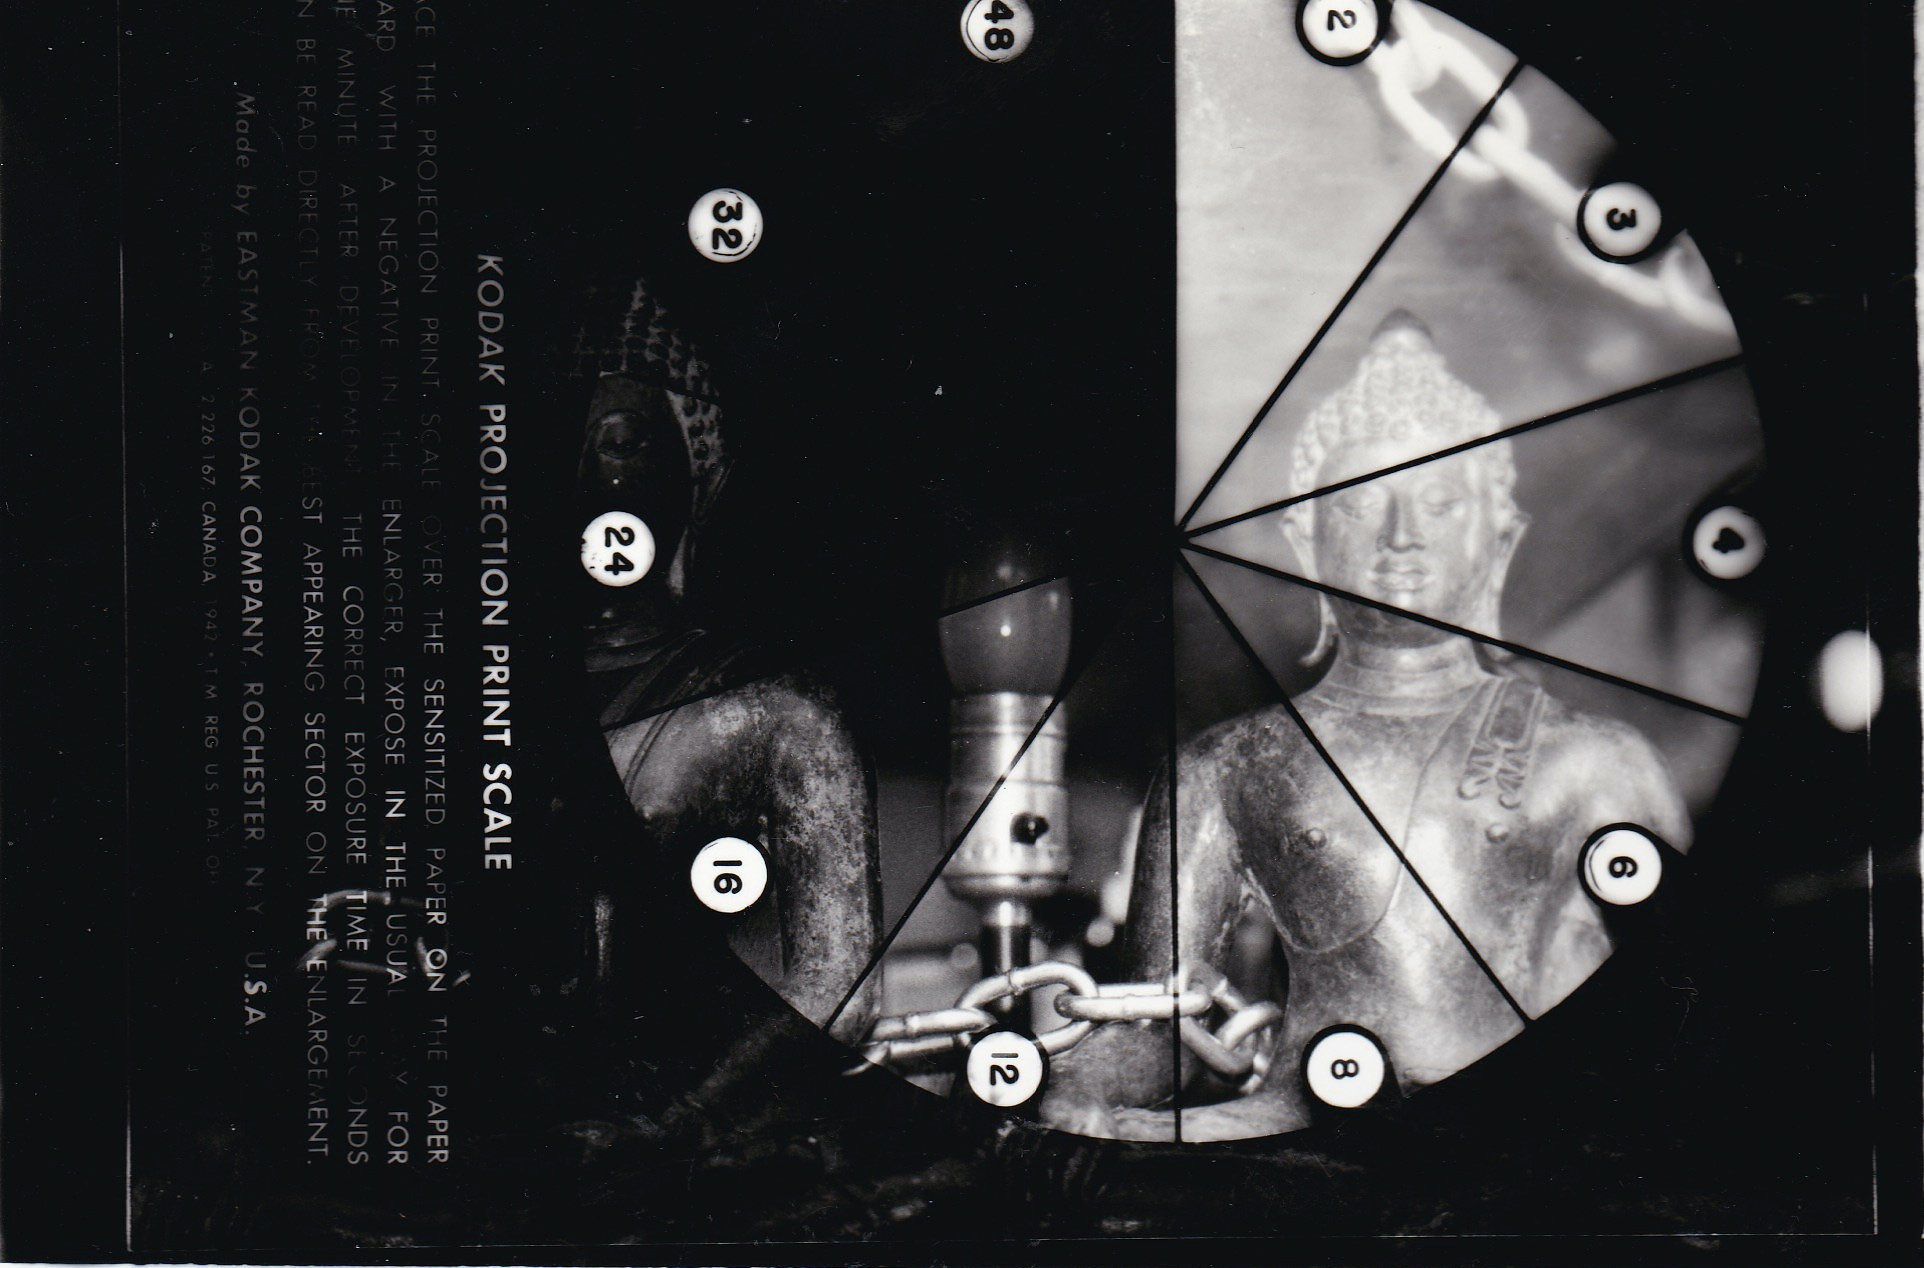
This is a nifty little piece of clear plastic that is laid over the undeveloped paper. A timer is set for 60 seconds, you project your negative on to the paper, develop the print, and voila you have a rough guess to the amount of time needed for your exposure. I've kept most of these through the years and still find them a fascinating look back at the process involved in making a print.

If You Have PinHolgaRoid's, There's an Ointment for That
Once digital photography took hold there was no looking back. I got into photography right on the edge of the acceptance of digital cameras as competition to film. I bought my first digital camera sometime in late 2001 in preparation for a three week hike across Europe for the upcoming summer of 2002. The camera was a Sony DSC-707 and it was magnificent. There were interesting hacks to make it shoot infrared and it had manual controls which was important for learning the basics of exposure.
Then the bug took hold and I went backwards, buying my first film SLR. From there I discovered Kodachrome and various black and white films. The rest of the world was moving to digital and I was learning how to develop and print my own film in a makeshift darkroom.
It was at this time that I was introduced to cameras that most would consider basic or amateurish. Camera’s like Holga and Brownie, in all it’s Bakelite glory captivated me. From there I became interested in photography in it’s most primitive form, a box, film, and a hole. Pinhole photography was the exact opposite of digital.
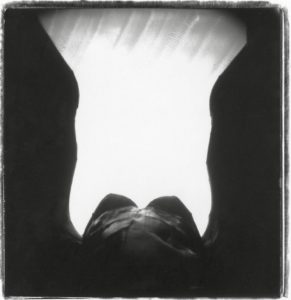
I started modifying Brownies and even created a pinhole for my 35mm camera. My favorite though was the PinHolgaRoid. Take a cheap plastic Holga, rip out the lens (in all it’s plastic sharpness), punch a hole in a piece of a Coke can, and slap on a Polaroid back and you have Dr. Frankenstein like creation. The beauty of this camera was the Polaroid back. My film of choice was Polaroid Type 88. This film not only provided an instant print, but a large Polaroid sized negative.
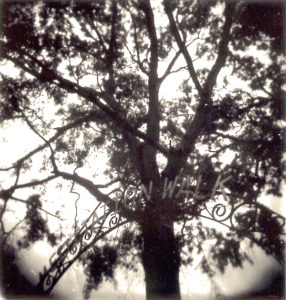
As much as I love technology I love the simplicity of creating pictures with primitive cameras.